Chinese New Year is just days away and so I wanted to make some treats for my family and friends. I saw these cute piggy cookies on Instagram and Pinterest and couldn't resist making them as this year is the Year of the Pig in the Lunar calendar.
These super cute Piggy Cookies are perfect for Chinese New Year celebrations. These shortbread-like cookies are not too sweet and melts-in-your-mouth. Perfect to make as a gift or just to enjoy if you can bare to eat the cute piggy.
They are fun and easy to make. The most difficult part is putting the sesame seed eyes on to the piggy. I used a pair of tweezers at first but found it was easier to place the sesame seed on your finger and then gently placing them on the cookie.
Happy Baking and Happy Chinese New Year xo
Piggy Cookies
Ingredients
· 75 grams unsalted butter
· 65 grams plain flour
· 75 grams corn flour
· 35 grams icing sugar
· 1½ teaspoons milk
· Food colouring (deep pink - Americolor)
· Black sesame seeds
Instructions
1. Preheat oven to 150°C.
2. Line one tray with baking paper.
3. Place butter and icing sugar into a bowl and cream until light and fluffy.
4. Add milk and mix well.
5. Add plain flour and cornflour a third at a time and mix until combined.
6. Refrigerate the dough for at least 20-30 minutes.
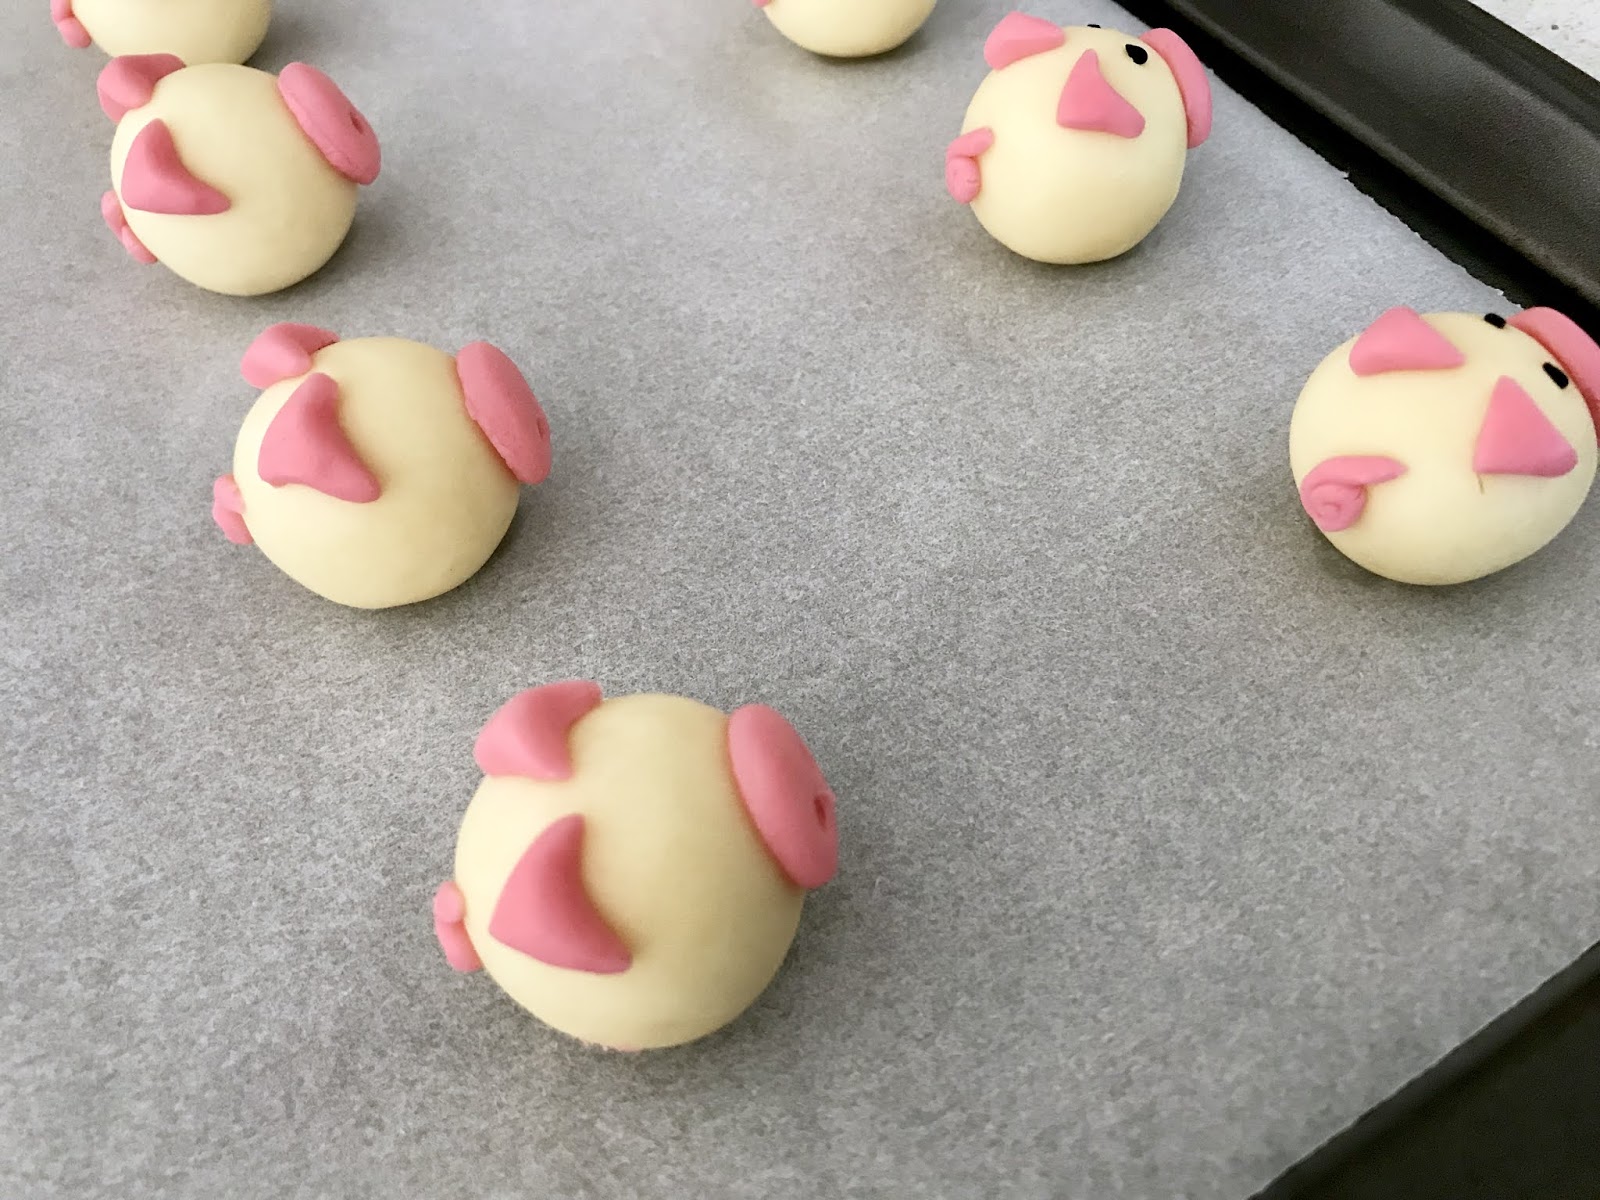
7. Take about 40-50 grams of the cookie dough and add a drop of pink food gel to make it pink for the piggy features. Roll out the dough and using the end of a small piping nozzle cut out the rounds for the piggy noses. Cut out small triangles for the ears.
8. Divide the remaining dough into 12 parts and roll into round balls.
9. Place one small round pink piece of dough to the front of the dough ball for the piggy’s nose. Using the end of a skewer indent two holes for the nostrils. Place the triangles for the ears and two black sesame seeds for the eyes.
10. Place onto baking trays and bake for 15-20 minutes
Tips
· You can use an electric beater to cream the butter and icing sugar. Because it was a small amount of ingredients, I just creamed it by using a wooden spoon.
· You can also use an edible pen to draw the piggy features on. Or using melted chocolate would work well too.
· If you wanted each piggy's body to be the same size, you can weigh them (about 17 grams each)
Did you bake this recipe?
Remember to tag @youcanbakeittoo on Instagram & hashtag #youcanbakeittoo
so I can see your wonderful bakes.





Comments
Post a Comment